How To Paint Your Cabinets Like a Pro
Estimated reading time: 7 minutes
Copyright© 2023-2026 | RealTech Solutions, LLC | All Rights Reserved
THIS ARTICLE MAY CONTAIN AFFILIATE OR OTHER LINKS, WHICH MAY PROVIDE REVENUE TO THE AUTHOR OR WEBSITE OWNER.
Replacing kitchen or bathroom cabinets can cost thousands but painting them offers a budget-friendly alternative to refresh your space. If your cabinets are structurally sound, a fresh coat of paint can transform their look, add personality, and extend their life for years. By choosing the right paint, tools, and techniques, you can achieve a professional-quality finish without the hefty price tag. This guide walks you through every step, from preparation to maintenance, to ensure your cabinets look stunning and durable.

For an average 150-square-foot kitchen with 20–25 cabinets, replacement costs can range from $2,200 to $24,600, with an average cost of around $8,200. Painting, however, costs a fraction—typically $200–$600 for quality paint and supplies. Beyond savings, painting allows you to customize colors and finishes, whether you prefer a sleek modern white or a bold navy. With proper execution, painted cabinets can last 8–10 years, making it a smart investment for both aesthetics and functionality.
PREPARING YOUR CABINETS
Ready to dive in? Not so fast! Before you think about picking up that paintbrush, you should know that proper preparation is crucial to a smooth, professional, and long-lasting finish. Without spending the time to prepare your cabinets, you will encounter paint that won’t stick or is easily scuffed off, unsightly lumps and bumps as you paint the surfaces, or paint in places where you didn’t want it in the first place. Review the items below and plan to spend 1-2 days of preparation such as:
- Remove all items from the cabinet. Even if you aren’t planning on painting the inside of the cabinet, make sure you remove everything so that proper cleaning and necessary repairs may be made. This isn’t just about removing items; it’s about giving yourself the necessary space to work without interruptions.
- Remove cabinet doors, drawers, and hardware. Detach cabinet doors, drawers, knobs, and hinges for easier painting and a cleaner result. Label hardware and store it safely to avoid confusion during reassembly.
- Clean thoroughly. Grease, grime, and old wax will prevent paint from adhering properly to the surface. Use a quality degreaser to remove grease, grime, and wax, which can prevent paint adhesion. Scrub all surfaces and rinse with water to ensure a clean base.
- Repair imperfections. Fix loose shelves, fill dents or scratches with wood filler, and secure any wobbly brackets. For screw holes that no longer adequately hold screws in place, consider larger threaded screws or implement these hacks for a more secure hold.
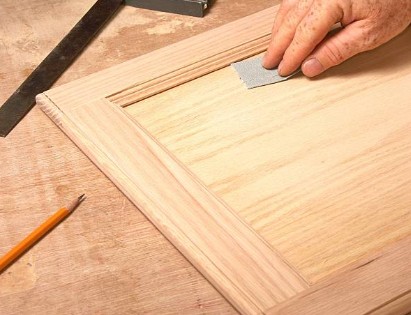
- Sand for adhesion. Lightly sand with 220-grit sandpaper to create a surface for paint to grip. For glossy cabinets, use a liquid de-glosser or sand more aggressively to remove shine.
- Wipe down surfaces. Use a lint-free cloth or tack cloth to remove dust, ensuring a smooth painting surface.
- Protect your space. Apply painter’s tape to walls, countertops, and floors, or use drop cloths to shield areas from drips. If you’re confident with a steady hand, you may skip tape for edges.
- Apply primer. Use a high-quality primer (like Zinsser BIN or Kilz) with a small foam roller or brush. Primer ensures better paint adhesion and a uniform finish, especially on bare wood or dark-stained cabinets.
CHOOSING THE RIGHT PAINT
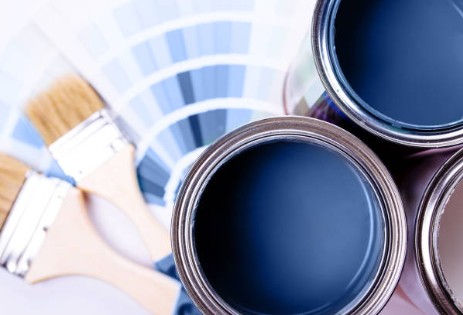
When it comes to paint, not all of them are created equal for cabinetry. You’ll want a paint that’s durable, washable, and can withstand the daily wear and tear of a kitchen or bathroom. While it may be tempting to grab any kind of paint in your favorite color, it would be worthwhile to research which type will produce the best results for your project.
- Latex (Water-Based) Paint: Dries quickly, has low odor, and is easy to clean up. However, it may not be as durable for heavy use.
- Oil-Based Paint: Offers superior durability and moisture resistance, ideal for cabinets. It dries slower and has a stronger odor, requiring good ventilation.
- Alkyd Paint: A hybrid that combines oil-based durability with faster drying and less odor. It’s a popular choice for cabinets.
For finishes, semi-gloss or gloss are ideal because they’re easy to clean, resist stains, and hide minor scratches. Satin offers a softer sheen but is still durable. Avoid matte finishes in high-traffic areas, as they show wear and are harder to clean. Consider specialty cabinet paints (like Benjamin Moore Advance or Sherwin-Williams Emerald Urethane) for a factory-like finish.
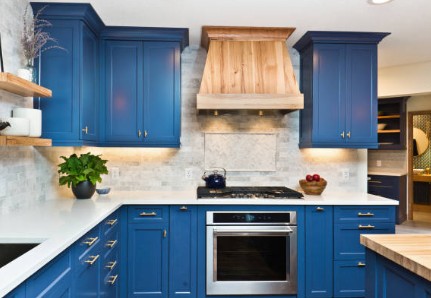
As for color, you will most likely want to stick with the classic neutrals such as whites, greys, and taupe shades. These choices will blend with many other color choices in the kitchen such as backsplash, countertops, and wall colors. If you want a modern look, opt for neutral tones like white, gray, or navy. For a bold statement, try deep greens or blacks, but ensure they complement your space. If in doubt, purchase a small sample and paint a 2 x2 foot board to determine the best coordinating color.
APPLYING THE PAINT
The method you choose to apply paint—sprayer, roller, or brush—impacts the final look and your workflow. Here’s an overview to help you decide:
PAINT SPRAYER
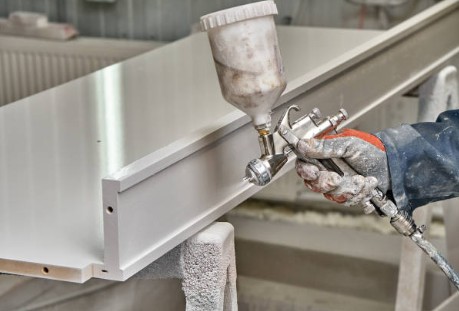
Pros:
Delivers a flawless, factory-smooth finish with no brush marks; ideal for large projects or intricate cabinet designs.
Cons:
Requires significant setup (drop cloths, masking, ventilation); overspray can be messy; equipment is costly ($50–$200 to rent or buy).
FOAM ROLLER
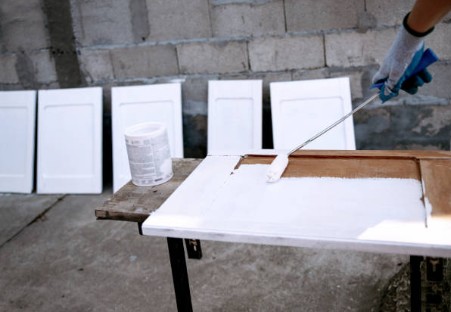
Pros:
Covers large, flat surfaces quickly; minimizes texture compared to traditional rollers; affordable and easy to use.
Cons:
May leave slight stippling (less with foam rollers); less effective for detailed or curved areas.
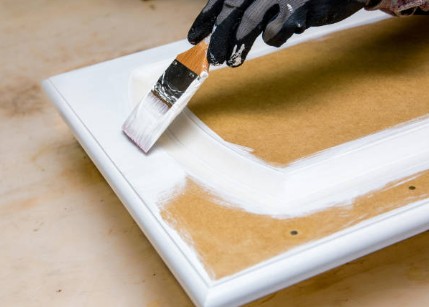
PAINT BRUSH
Pros:
Offers precision for edges, corners, and intricate details; inexpensive and widely available.
Cons:
Can leave visible brush strokes if not applied carefully; slower for large surfaces.
FINISHING TOUCHES & MAINTENANCE
After the final coat has dried, carefully remove any painter’s tape. Reattach your hardware or, for an updated look, replace it with new handles or knobs. If you’ve removed doors, rehang them, ensuring all hinges are aligned correctly. Finally, inspect for touch-ups and address any drips or uneven spots with a small brush.
To keep your newly painted cabinets looking pristine:
- Clean with a mild soap and water solution, avoiding harsh chemicals.
- Use felt pads under heavier items inside your cabinets to prevent scratches.
- Consider applying a clear polyurethane topcoat for matte finishes or high-traffic areas to boost durability.
FREQUENTLY ASKED QUESTIONS
Q: Should I paint the inside of the cabinet?
A: Paint interiors if they’re visible (e.g., glass-fronted doors) or already painted. For a cohesive look, use the same color as the exterior or a contrasting shade for flair. Ensure thorough cleaning and priming first.
Q: Do I need a primer if I use an all-in-one paint?
A: All-in-one paints often skip primer but test a small area first. If adhesion is poor or the surface is dark, apply a separate primer for better results.
Q: How long will the paint last?
A: With proper prep and quality paint, cabinets can last 8–10 years, depending on wear, cleaning habits, and environmental factors like humidity.
Q: How long does it normally take to paint my cabinets?
A: Painting an average kitchen takes 3–10 days, including prep, painting, and drying. Plan ahead to account for drying times and your schedule.
Painting your cabinets is a rewarding project that revitalizes your kitchen or bathroom without breaking the bank. With careful preparation, the right materials, and patience, you can achieve a professional finish that rivals custom cabinetry. Take your time, follow each step, and enjoy the transformation. Happy painting!